Smart Thermostat Installation Guide: DIY Step-by-Step for Any Home
Installing a smart thermostat is one of the most rewarding do-it-yourself home improvement projects you can undertake. Not only does it save you the $100 to $200 cost of professional installation, but it also gives you a detailed understanding of your home’s heating and cooling system for future maintenance. We walk you through each step of the installation, from checking compatibility to final configuration, ensuring a successful installation regardless of your experience level.
Before You Begin: Checking Compatibility
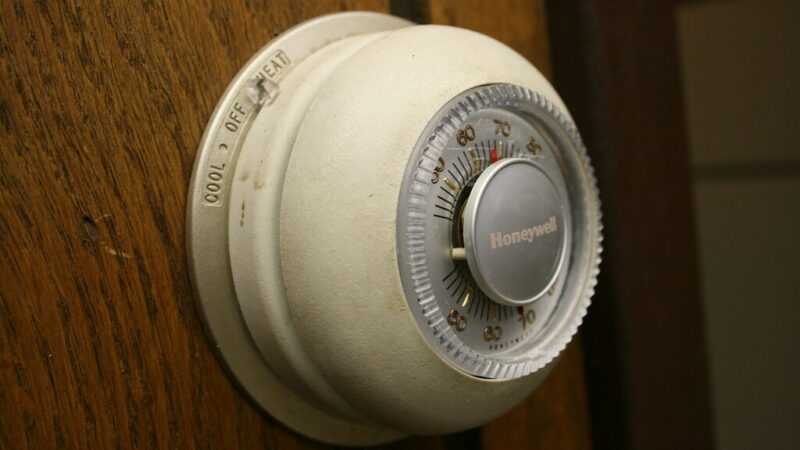
The first and most crucial step is verifying that your HVAC system is compatible with the smart thermostat you plan to install. Most major manufacturers including Nest, Ecobee, and Honeywell provide online compatibility checkers on their websites. You will need to identify your current thermostat type and take a clear photo of the wire connections. Most smart thermostats work with standard 24-volt systems, including forced air furnaces, air conditioners, heat pumps, and multi-stage systems. However, some high-voltage systems like baseboard electric heating and certain specialized heat pump configurations may require specific models designed for those applications.
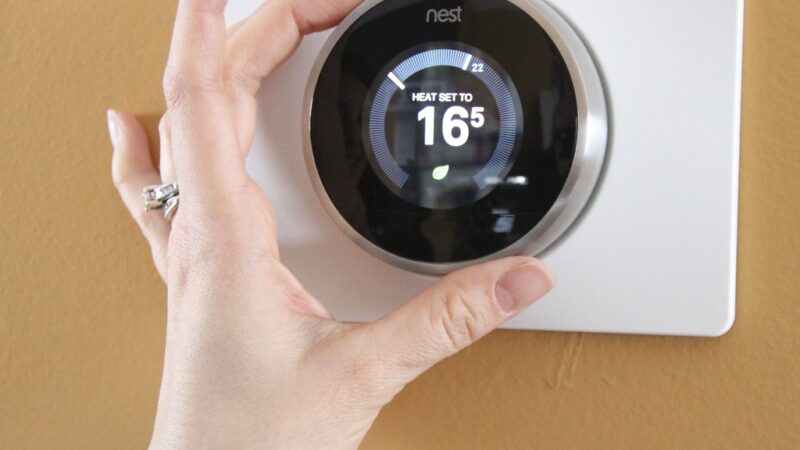
You should also check whether your system has a C-wire, or common wire, which provides continuous power to the smart thermostat. While some models like the Nest Thermostat can operate without a C-wire by using a power stealing technique, others like Ecobee include a Power Extender Kit specifically for homes without this wire. If your system lacks a C-wire and your chosen thermostat requires one, the included adapter or an add-a-wire device can usually solve the problem without running new thermostat wiring through your walls.
Tools and Materials Needed
The installation process requires minimal tools that most homeowners already own. You will need a flathead and Phillips head screwdriver, a drill with a 3/16-inch drill bit if you need to install new wall anchors, a pencil for marking screw positions, and a small level to ensure the thermostat is mounted straight. Some installations may also require wire strippers if the existing wires need to be trimmed to fresh copper, and a smartphone or tablet to run the manufacturer’s setup app during the configuration phase.
Step-by-Step Installation Process
Start by turning off power to your HVAC system at the circuit breaker. This critical safety step prevents electrical shock and protects the thermostat’s sensitive electronics. Remove the cover from your old thermostat and take a clear photo of the wiring configuration for reference. Label each wire according to its terminal designation using the stickers provided with your new thermostat or small pieces of masking tape. Carefully disconnect the wires and remove the old thermostat base from the wall.
Mount the new thermostat base to the wall using the included screws and wall anchors. Ensure it is level and that the wires can pass freely through the opening in the center of the base. Connect each labeled wire to the corresponding terminal on the new base, tightening each screw securely. If your thermostat requires a C-wire that was not connected on the old unit, you may need to check inside your HVAC system’s control board to locate the C-terminal and connect a new wire following the manufacturer’s detailed instructions.
Configuration and Final Setup
Once the wiring is complete, attach the thermostat display to the base and restore power at the circuit breaker. Your thermostat should power on automatically and begin the guided setup process. Download the manufacturer’s companion app and follow the on-screen instructions to connect the thermostat to your Wi-Fi network. You will be prompted to configure your system type, set temperature preferences, and create an initial schedule. Test the system by requesting heating, cooling, and fan operation through the app to ensure everything is working correctly before completing the installation.